
Why Your Soldering Station’s Display and Your Thermometer Disagree
You set the station to 350 °C. You touch a thermocouple meter to the tip and it reads 342. Or 358.
The station is not lying to you. Neither is your meter. They are measuring two different things, in two different places, through two different thermal paths. Here is what is actually going on.
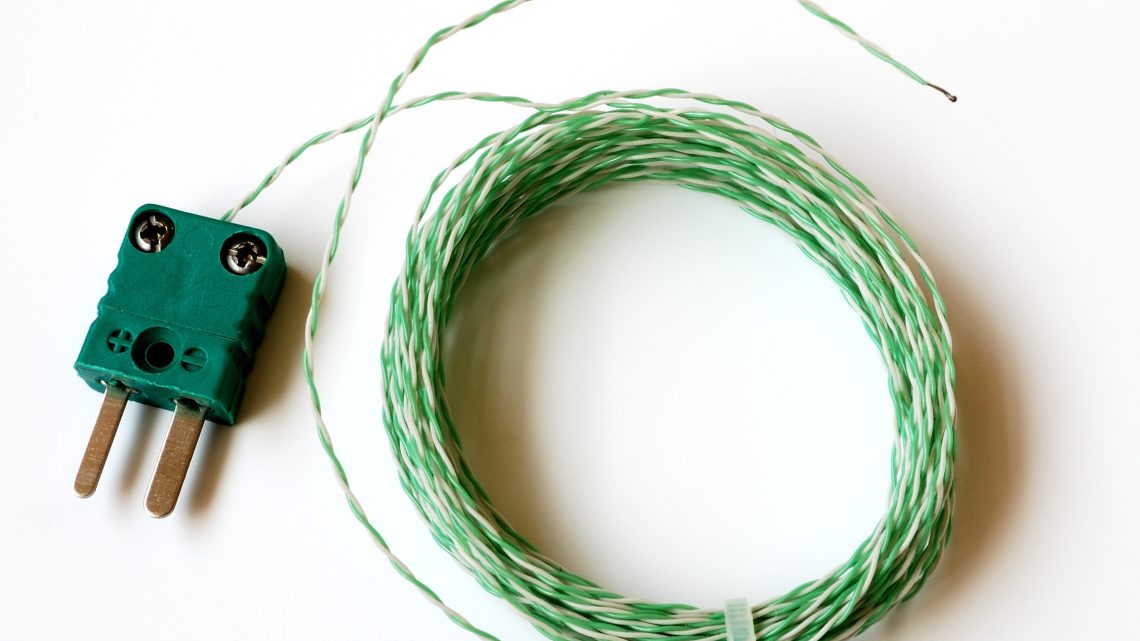
The sensor is not at the working face of the tip
It is tempting to picture a thermometer sitting right at the point where the solder melts. That is not how a soldering station is built, and it is not how it could be built — the working face is the hottest and most abused part of the tool.
The sensing junction sits back from the working face. Heat has to travel from the heating element, through the body of the tip, out to the point where the solder actually melts. Every material along that path has thermal resistance, so the moment you touch a joint and heat starts leaving the tip, a temperature gradient develops across it.
The sensor reads the upstream side of that gradient. The joint sees the downstream side. Under light load the gap is small. Under heavy load — a ground plane, a large connector, a cold chunk of copper — the gap widens, and it widens fastest exactly when you care about it most.
There is a time lag as well. Neither the tip nor the sensor changes temperature instantly, and the sensor is always reporting a temperature that has already happened. That lag is why a control loop tuned for a fast response tends to overshoot: by the time the sensor registers the setpoint, the working face has already passed it. Holding a temperature tightly is a harder control problem than reaching it quickly.
The electrical signal is absurdly small
Most people who have not worked on the analog side of a soldering station are surprised by this part.
The sensor does not output a temperature. It outputs a voltage, and the voltage is tiny. From our own calibration records, taken across the working range:
| Tip temperature | Sensor output | After amplification |
|---|---|---|
| 200 °C | 8.0 mV | 1.01 V |
| 380 °C | 16.6 mV | 2.096 V |
| 500 °C | 22.6 mV | 2.807 V |
At 200 °C the sensor produces eight millivolts. For scale, an AA battery produces about 1500 mV. That signal has to be amplified roughly 126 times before a microcontroller’s analog-to-digital converter can do anything useful with it. You can check the arithmetic yourself — divide the third column by the second: 1.01 / 0.008 = 126.25, 2.096 / 0.0166 = 126.27, 2.807 / 0.0226 = 124.20.
That last set of numbers deserves a second look. The gain is essentially constant across the whole range — 126.25, 126.27, then 124.20 at the top end. The amplifier is linear, with a small deviation at the hottest point. This is the kind of thing you only find by measuring at several temperatures rather than assuming.
Two different calibrations, often confused
There are two separate calibration problems here, and mixing them up is where most of the confusion comes from.
The manufacturer’s problem is to characterise the sensor: to establish the curve between millivolts and degrees, and to set the amplifier gain so the working range lands neatly inside what the converter can read. That takes several measurements across the range. The table above is that work — three points, and the gain computed from each.
Your problem is different. It is not the curve that is wrong; it is that this particular tip, assembled and seated in this particular socket, sits a degree or two off from the nominal one. That is an offset, not a change of slope.
Which is why stations in this class offer single-point calibration. On ours, you hold two keys for three seconds to enter calibration mode, then bring up a reference temperature and adjust the displayed value until it agrees with your meter. The offset is stored and survives power-off. One correction, applied to every reading from then on.
Single-point calibration fixes a constant bias. It cannot fix a gain error — if the readout is 3 °C low at 200 °C and 9 °C low at 400 °C, no single offset will help, because the problem is not an offset. Knowing which of the two you have is most of the diagnosis.
What ±3 °C actually promises
A stability figure is not an accuracy figure.
Stability describes how much the reading wanders once the station has settled at a setting — how tightly the control loop holds, board after board. Accuracy describes how close the displayed number is to what a reference instrument would measure at the tip.
±3 °C of stability tells you the station holds its setpoint. It does not promise the setpoint matches your meter, because that depends on the tip, the socket, how well it is seated, and where your meter is touching. This is exactly what single-point calibration is for.
Before you decide the station is wrong
If your meter and the display disagree, check these first — in this order:
- Is the tip seated properly? A tip that is not fully home reads low and heats unevenly. Some stations detect it and warn; a loose tip still making intermittent contact is harder to catch, and produces exactly this symptom — a persistent, stable offset.
- How are you measuring? A meter bead has to make real, stable contact with the working face. Hold it lightly and you are measuring air. The reading will drift and read low.
- Have you waited for steady state? A tip that has just come up to temperature has not equalised. Give it time at the setpoint before writing down a number.
- Are you measuring where the sensor is? You are not — you cannot be. Some difference is expected, and it grows under load.
- Is your reference meter calibrated? It is the same question one level down. Many disagreements are one uncalibrated instrument arguing with another.
If all of that checks out and the offset is consistent, calibrate it out. That is what the function is for.
The honest summary
The number on the display is the temperature of a sensor inside the tool, adjusted through a calibration curve, plus an offset you control. It is a very good proxy for the temperature at the working face — close enough to set a process to, and repeatable enough to run a bench on — but it is a proxy, and the gap widens exactly when the load widens.
Knowing that is more useful than any single number on a spec sheet.